A Little Lace Goes A Long Way
I know I have been on a cardigan kick, and I promise I will take a break...right after this post! I have found a simple, easy, and did I mention cheap, way to update your old cardigan. And as this is a blog is about sharing fashion secrets, I would love to share mine with you.
Lace has been everywhere, but be careful cause a little lace goes a long way, and too much...well...lets just leave that to late night gentleman's clubs. A wonderful example of how it can be done right? Well, here are some pics! But remember to keep reading after the pics, and I will show you how to create that chic look in a oh so simple way.


Cute right?! I just love the feminine touch! Ok, so here is the first step to creating this look at the price of just a few dollars:
Step 1:

Get yourself some uber cute lace. I got mine from Hobby Lobby, but even Walmart is stocked with this wonderful fabric decor.
Step 2:

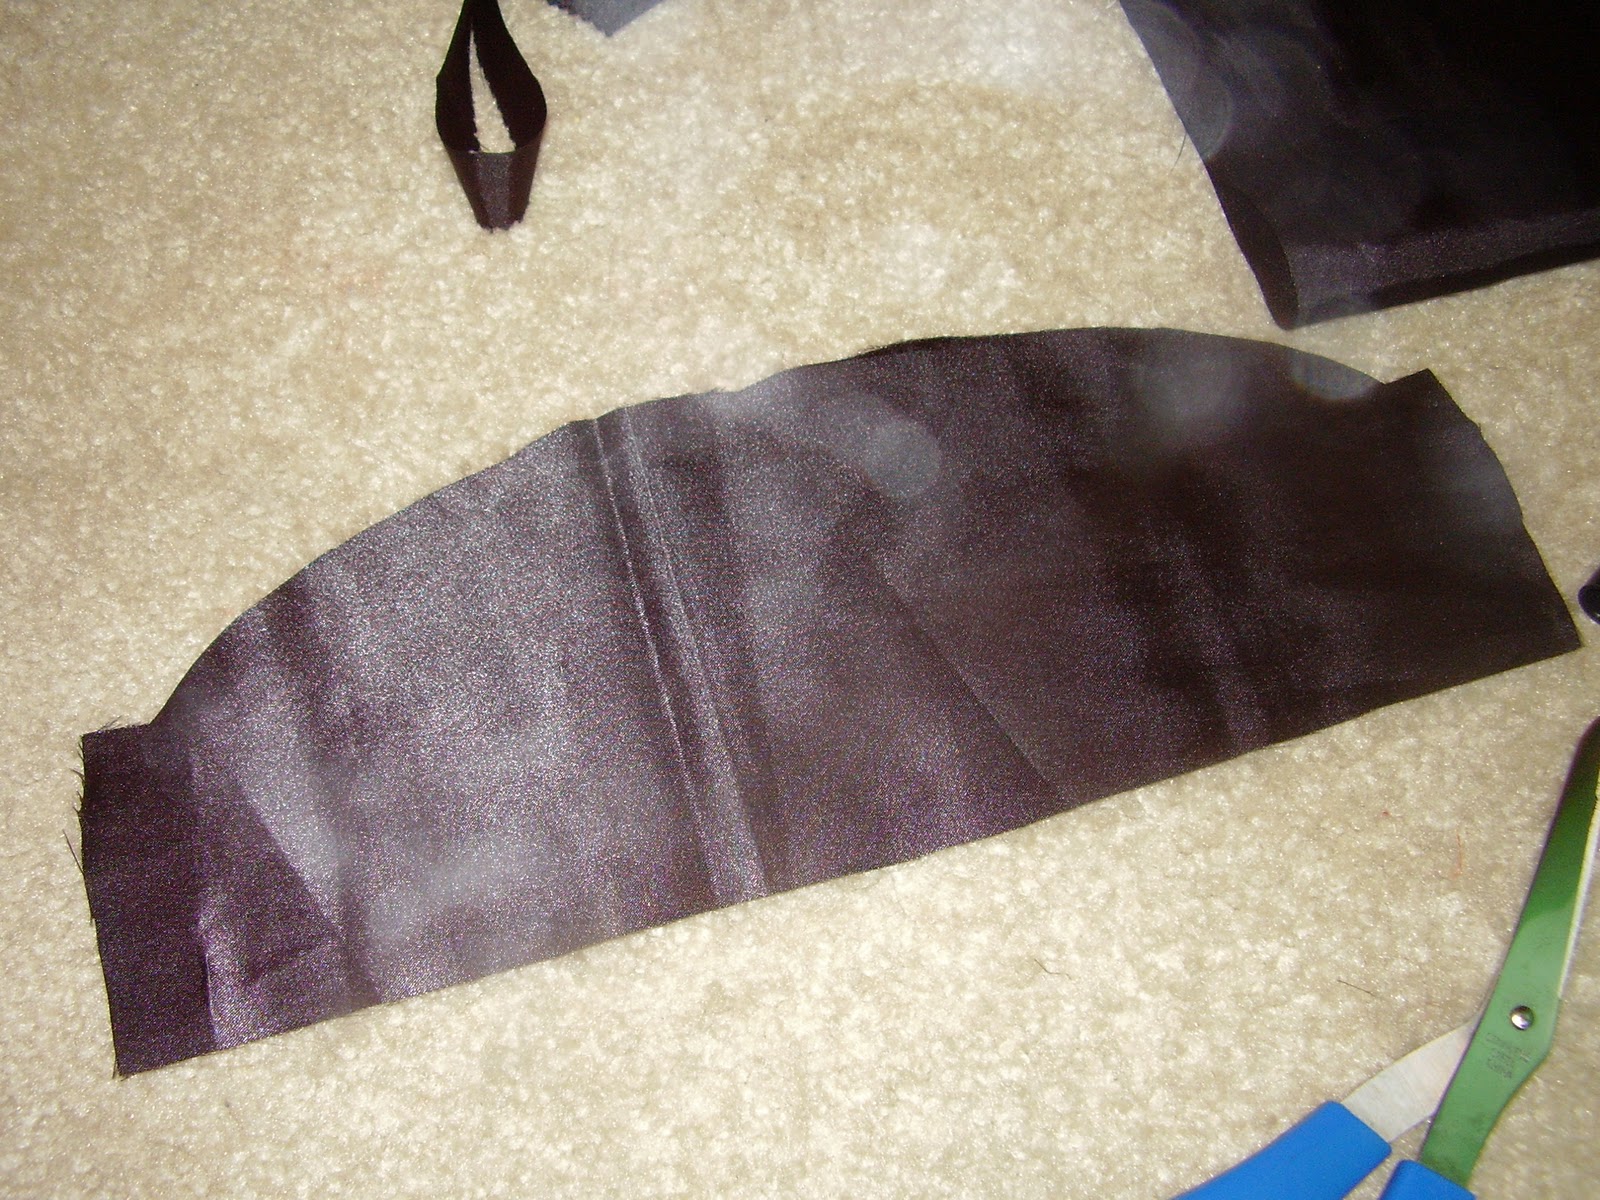
Measure it to the cardigan. You will want to decide if you want the lace to go all the way from the top to the bottom of the cardigan, or if you want the lace to end when you reach the design on the bottom (if it has one like this cardigan does).
Step 3:

Ok, once you have your lace cut to measure, you will need to pin the lace next to the band the buttons are on. You will do this for both sides of the cardigan (the band with buttons and the band with button holes).
Step 4:
Sew the lace onto the cardigan with one line, pretty close to the edge of the lace and the beginning of the band. Then you will sew the bottom of the lace to the cardigan, and the top of the lace to the top of the cardigan. This should secure the lace if it is not to ruffly. If it is ruffly (like mine is in the picture), then you can just sew small sections of the outer part of the lace to the cardigan. These sections should be so small that you won't see them, and for my cardigan I only needed 3 small sections to hold it to the cardigan firmly, but with the small sections it still lets the lace bubble up and add dimension. Again, however, you don't have to do that if you don't want, and you won't have to if you choose a lace that sits flat when you pull it straight. If you do pick a lace like this then you will make sew two lines down the length of the lace: one near the button band, and the other down the middle. If you do this, make sure the thread is the same color as the lace.
Step 5:
Ta da!

This is the cardigan I finished! You know it was easy if I could do it. Now go make a cute and stylish cardigan of your very own for the price of lace and thread. Good Luck!
Lace has been everywhere, but be careful cause a little lace goes a long way, and too much...well...lets just leave that to late night gentleman's clubs. A wonderful example of how it can be done right? Well, here are some pics! But remember to keep reading after the pics, and I will show you how to create that chic look in a oh so simple way.


Cute right?! I just love the feminine touch! Ok, so here is the first step to creating this look at the price of just a few dollars:
Step 1:

Get yourself some uber cute lace. I got mine from Hobby Lobby, but even Walmart is stocked with this wonderful fabric decor.
Step 2:

Measure it to the cardigan. You will want to decide if you want the lace to go all the way from the top to the bottom of the cardigan, or if you want the lace to end when you reach the design on the bottom (if it has one like this cardigan does).
Step 3:

Ok, once you have your lace cut to measure, you will need to pin the lace next to the band the buttons are on. You will do this for both sides of the cardigan (the band with buttons and the band with button holes).
Step 4:
Sew the lace onto the cardigan with one line, pretty close to the edge of the lace and the beginning of the band. Then you will sew the bottom of the lace to the cardigan, and the top of the lace to the top of the cardigan. This should secure the lace if it is not to ruffly. If it is ruffly (like mine is in the picture), then you can just sew small sections of the outer part of the lace to the cardigan. These sections should be so small that you won't see them, and for my cardigan I only needed 3 small sections to hold it to the cardigan firmly, but with the small sections it still lets the lace bubble up and add dimension. Again, however, you don't have to do that if you don't want, and you won't have to if you choose a lace that sits flat when you pull it straight. If you do pick a lace like this then you will make sew two lines down the length of the lace: one near the button band, and the other down the middle. If you do this, make sure the thread is the same color as the lace.
Step 5:
Ta da!

This is the cardigan I finished! You know it was easy if I could do it. Now go make a cute and stylish cardigan of your very own for the price of lace and thread. Good Luck!